The third layout manager demo shows how to set different layouts for portrait and landscape display orientation.
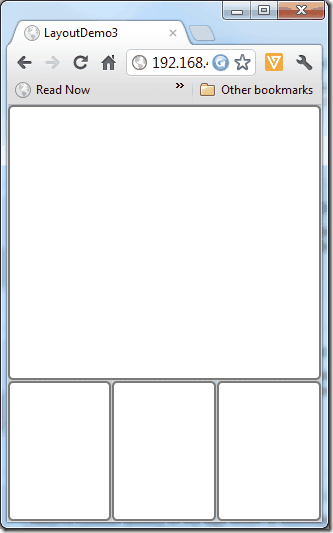
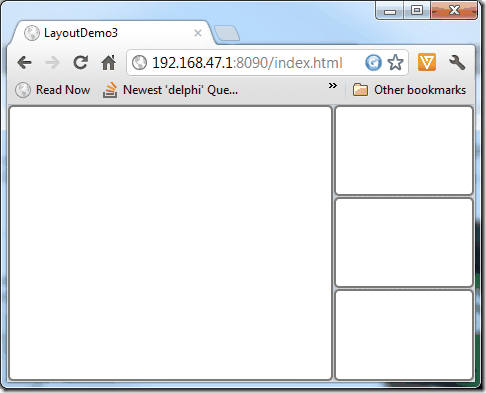
Letís say we want to have a form with a big panel and three small panels. In the portrait orientation, small panels should be positioned below the big one and in display orientation they should be positioned right to it.
In portrait orientation, small panels should be of an equal width and in the landscape orientation they should have the same height. (Give or take a pixel).


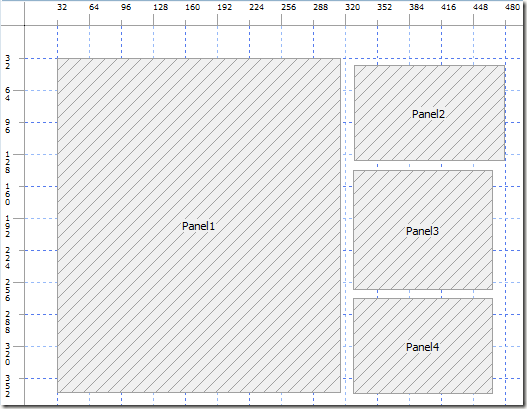
Letís start with the design. We need a large panel and small panels.Dimensions donít matter as they will be set in code.

We have to declare two TLayout fields in the form class.
FLayoutLandscape: TLayout;
FLayoutPortrait: TLayout;
Both layouts are defined in the InitialzeObject overload, as in the previous examples.
Landscape layout contains one Client layout for the Panel1 and one Right layout containing a Top layout containing Panel2, Panel3, and Panel4. The trick here is the Layout.Stretch call which changes Layout.Top behavior. Because of this Stretch, Layout.Top will stretch all contained controls to the same size (plus or minus a pixel Ė sometimes it is not possible to set all to the same size) so that they will fill the Right container from top to bottom.
FLayoutLandscape :=
Layout.Client([
Layout.Client(Panel1),
Layout.Right(Layout.Width(140),
Layout.Top(Layout.Stretch, [Panel2, Panel3, Panel4]))
]);
Similarly, portrait layout contains a Bottom layout with nested Left layout with the Stretch parameter. Height is specified explicitly and Panel2 to 4 width is set to the same value (plus or minus a pixel) so that they fill up whole row.
FLayoutPortrait :=
Layout.Client([
Layout.Client(Panel1),
Layout.Bottom(Layout.Height(140),
Layout.Left(Layout.Stretch, [Panel2, Panel3, Panel4]))
]);
In the Resize method we have to check Width and Height of the form and apply appropriate layout.
procedure TForm1.Resize;
begin
inherited;
if Width > Height then FLayoutLandscape.Resize(Self) else
FLayoutPortrait.Resize(Self);
end;